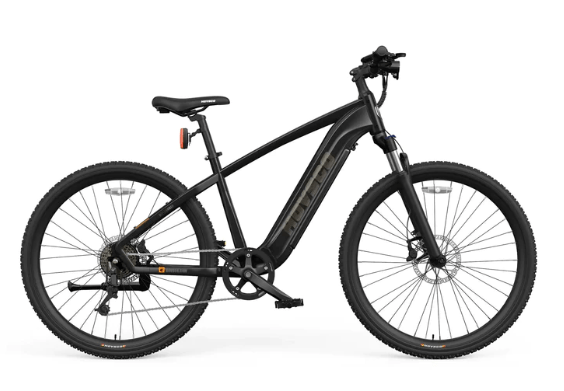
It can be intimidating to open up your Hovsco ebike controller, but it doesn’t have to be. It’s a simple process that requires a few tools, time, and patience. Once you’ve got the hang of it, you’ll be able to take care of any problems that pop up with your controller in no time flat!
Removing the Thumb Throttle
The first step in removing an hovsco ebikes controller is removing the wire connection from around your thumb throttle. You will want to do this before removing the thumb throttle itself, so there are no issues with corrosion or rusting during storage. If these two parts get wet after being separated, they may not function properly when put together again later down the road.
The thumb throttle is one of the most important parts of your electric bike controller. It allows you to control how fast or slow you go. This makes it useful for riders who need help making it up hills or need extra help in areas with lots of stop signs and traffic lights.
Pull it off if you need to remove the thumb throttle of an electric fat tire bike. You may need to twist while pulling, but the connection can break away easily. The wire that connects to the thumb throttle will remain attached to the bike.
Removing the Controller
- Remove the four screws marked with a dot on the controller’s side cover with a screwdriver.
- Remove the four screws from the controller’s face plate with a screwdriver, and pull off its face plate to expose its circuit board inside.
- Unscrew and remove the three silver screws underneath the circuit board with a screwdriver. Then unplug each of the two plugs connected to it by pulling them straight out from their sockets.
Next, remove the four screws from the controller’s face plate with a screwdriver. These are on the controller’s face plate, which is the part of the controller that you see. The controller’s face plate has four holes, and each hole hides one of your four screws. You’ll need to remove all four of them before you can start taking apart your electric bike controller.
Remove the four screws marked with a dot on the controller’s side cover. Then, remove the cable clamp by unscrewing it and pulling it out of the controller’s side cover. Carefully remove the side cover by pulling it away from the controller’s inner frame. Once removed, set it aside. Do not drop the side cover.
Reattaching
Now that you have removed your parts, you will need to attach them again. Follow these steps to do so correctly.
- Attach the controller box to the frame.
- Attach the controller box to the battery.
- Attach the battery to the controller box.
- Attach your Hovsco Electric Bike Controller onto your e-bike frame so that everything is in its place. And ready for use.
- Attach the battery pack connector back on. While doing this, you may have to hold the wires in place with a tie or some hot glue. So they don’t get damaged by coming into contact with metal parts like screws or bolts.
- Finally, reconnect your battery pack and test out your best electric bicycle.
Final Words
Here we have told you how to remove and replace the ebike controller. Just follow the steps mentioned in this post. You can build your own electric bicycle by adding your desired accessories.
